“Something no more miraculous than a cup of coffee is enough transcendence for one day.”
— My Dinner with André
I’ve written before about the AeroPress as the pinnacle coffee-making method. One of its best features is how amazingly easy it is to use, but it can seem daunting at first. All the specifics—how much water to use, how to grind, how and when to pour and press—are left to personal choice.
As a starting point, I present below a step-by-step guide to my brewing process (which I act out every single morning). Tweak the measurements to your taste to create the best cups of coffee you’ve ever had.
You will need:
- AeroPress (available on Amazon for $26, or at your local kitchenwares boutique)
- AeroPress Paper Filter (these come with the AeroPress when you buy it and more can be purchased on their own once you run out)
- Burr Grinder note (I use the Bodum Bistro, on sale for $120 at Amazon. Not cheap, but less than 50 cents a day if you use it once a day for a year.)
- Sturdy Mug (the following measurements are designed for use with a 16-oz. mug such as the Anchor Hocking glasses)
- Good Coffee Beans
- Hot Water (an electric tea kettle makes the process a lot easier, but is not a requirement)
- Cooking Thermometer (nothing fancy, a pocket thermometer can be snagged from Amazon for less than $10)
Process:
0) Season your AeroPress. When you buy a new one, there may be a bit of residual plastic factory scent clinging to it. Run the press without grounds, just hot water, in your sink a few times, and it will dissipate.h/t
1) Boil the water. I use one 16-oz. bottle of spring water per cup. You can also use filtered tap water. While you’re waiting for the water to boil, start setting up your AeroPress (Steps 3–4).
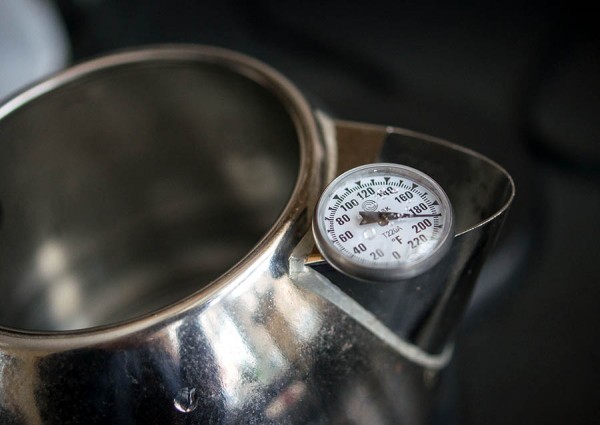
2) Let water cool slightly. Boiling water is too hot to make coffee with; it will scald the grounds without extracting well. I open the top of my electric teakettle to bring the water temperature down to around 190°F. Stick the thermometer through the kettle spout to monitor the temp as you go about the rest of the set up. If you’re not ready when it reads 190°F, close the top so you don’t lose too much heat.
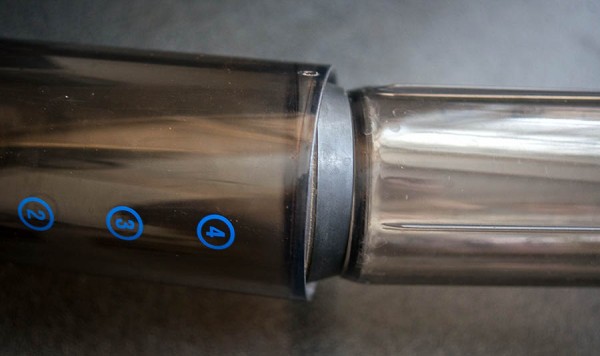
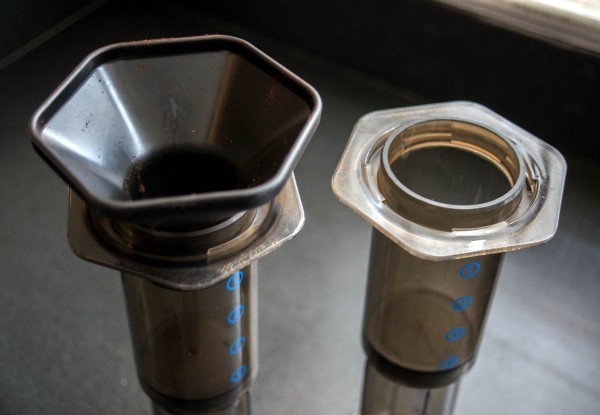
3) Invert the AeroPress. Insert the plunger into the chamber piece just enough that it creates a seal.
4) Add the funnel. Stand the attached duo on your counter with the chamber opening facing up and place the funnel inside.
5) Place a new paper filter in the filter cap. Rinse it with hot water from your kettle.
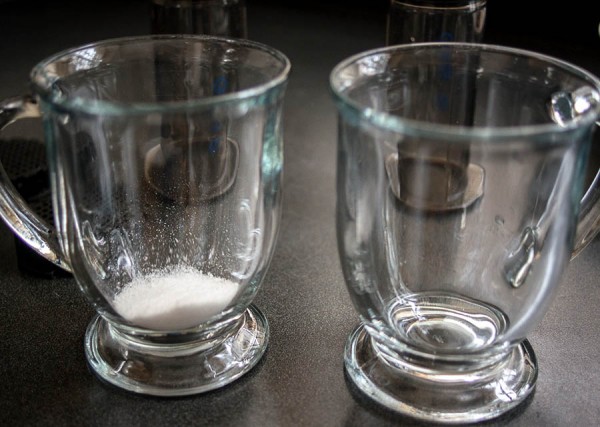
6) Prepare your glass. If you like sugar or sweetener, now is a good time to add it. (I make two cups every morning—my husband’s gets sugar, mine does not.)
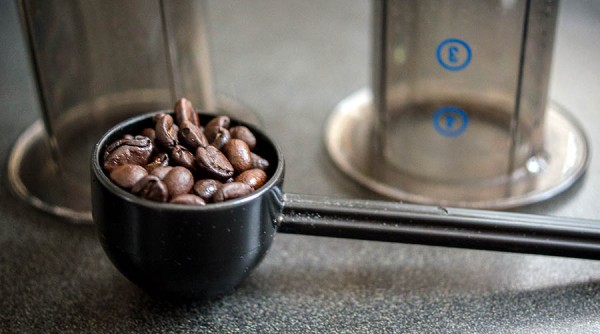
7) Place approximately 19g coffee beans into the grinder. The quantity of beans will vary to taste; the 19g is my recommended dose per cup and is equivalent to around 1⅓ large coffee scoops. I hit on this figure after a lot of trial and error. Also, I don’t actually weigh my beans every morning; once you’re used to a certain amount, you’ll be able to eyeball it pretty accurately.
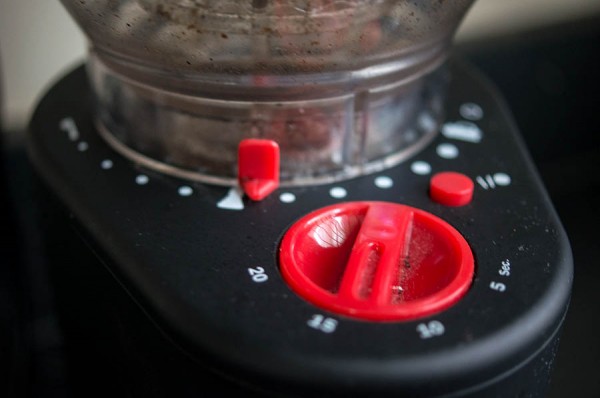
8) Adjust grinder settings and grind. How fine you grind the beans is another thing you’ll want to adjust to taste. I set the Bodum Bistro to just a touch coarser than the notated “drip” setting (the middle icon on the scale from “French press” to “espresso” grind).
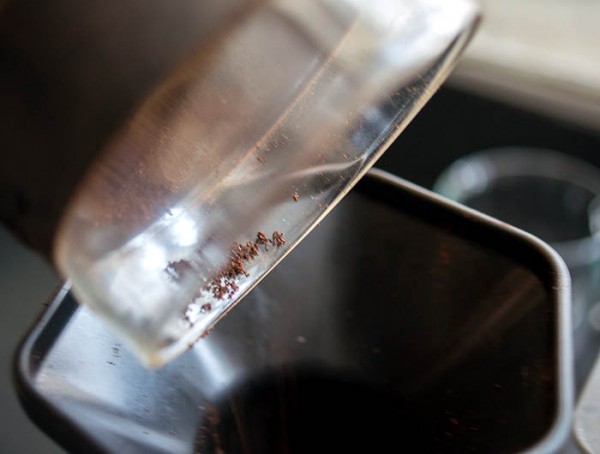
9) Pour the grinds into the AeroPress chamber through the funnel. You might need to shake and tap to make sure all (or at least most) of the grounds are emptied—static electricity can cause the grounds to cling, depending on the ambient humidity of your kitchen. Remove the funnel from the top of the AeroPress, tapping lighting to make sure all grounds fall off this, too.
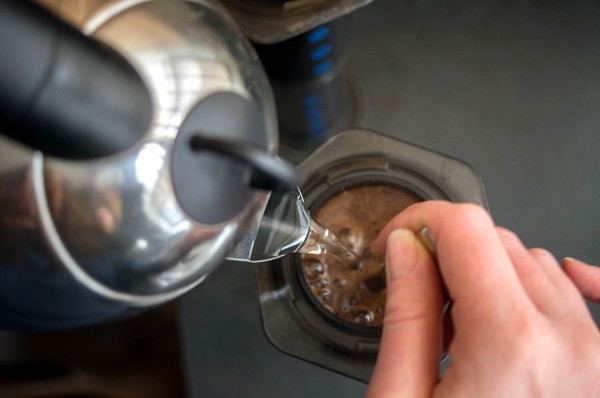
10) Pour 190° water into the AeroPress chamber. Fill it all the way to the top, stirring as you go so there are no dry clumps of grounds. You can use the provided plastic stirrer, or you can use a teaspoon, like I do.
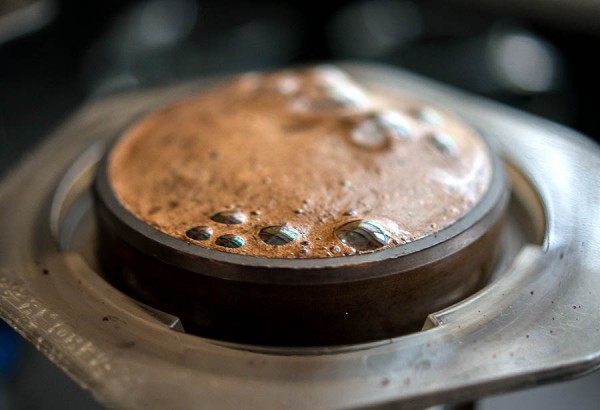
11) Let the mix steep for 15-20 seconds.
12) Screw on the filter cap. Make sure to screw it on tightly, but don’t go overboard—if you make it too tight it will be hard to unscrew when you’re done.
13) Invert the AeroPress over top of your mug. Very likely, only a tiny bit of liquid will drip out; there’s a near vacuum inside the chamber, thanks to the pre-wetted paper filter.
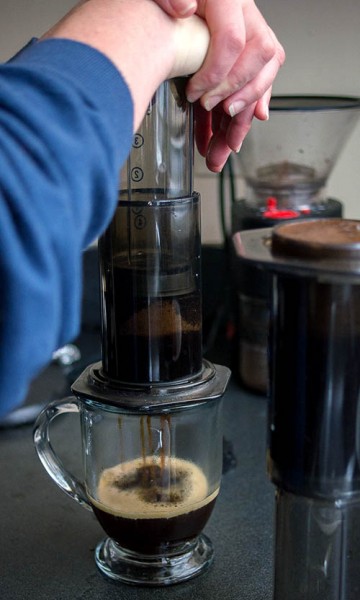
14) Press. Use both palms to press down in a smooth, steady motion. You might be surprised at how much pressure this takes, but keep at it. (I’ve heard they sell rocks specially sized to place on top of the AeroPress, to save your wrists from hurting.) Press all the way down, until you hear a slight hiss as the last bit of trapped air goes through the filter.
15) Remove AeroPress and rinse. It’s easy enough to to clean that you might as well do it right away.
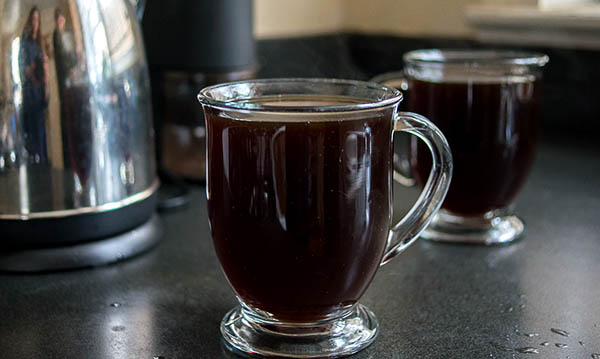
16) Dilute the pressed coffee concentrate with more hot water. Fill the cup to as close to the brim as you can without overflowing, stirring to mix as you go.
That’s it! Drink while being happy and productive. Or lazy and snarky, if that’s your style. Either way, you’ll definitely enjoy the coffee.
Special thanks to Mark Henninger for some of the photos
*This is not negotiable. A conical burr grinder creates uniformly sized coffee grounds without overheating the beans. Why is this critical? During extraction, hot water has a set amount of time to pull flavor and caffeine from the grounds, and the whole process is about optimizing that moment. If you have grounds of varying sizes, larger pieces will end up under-extracted and smaller pieces will be over-extracted, leading to bitterness and lack of richness in the final drink. (Over the summer I took my AeroPress to Cape Cod and tried to use beans ground in my aunt’s repurposed spice grinder. Did not work. At all. If the beach hadn’t been so beautiful, it would have been a very sad week.) [Back]


Hey Jim – good catch. The reason it varies is because my thoughts on the matter have varied over the years. These days, actually, I’m set on 190 as the perfect midpoint. I’ll go ahead and update the post. Thanks for reading — and hope you enjoy the coffee as much as I have been.
Hey, you say to let water cool to 195 then later say pour 185 degree water. Which is it?
cec platt, try reading the instructions again.
“3) Invert the AeroPress. Insert the plunger into the chamber piece just enough that it creates a seal.”
The chamber is not open on each end…if you do this step.
The chamber should be closed on one end because it’s sitting upside-down on the plunger (with the edge of the plunger already inside it, like a stopper). If you used the non-inverted method, you’d screw the filter cap on first, then push the plunger through the top.
obviously I am missing something, you say pour water into chamber and then screw filter cap in that order, the chamber is open on each end, help, thanks